A product weighing less than one kilogram can produce a shipment weighing more than one kilogram. On Shopify, that distinction can change the weight-based rate a customer sees. Record product weight and packaging weight separately, then test the combined result at checkout rather than guessing from the product listing.
This is a configuration and checking guide, not a carrier-price comparison. Shopify documentation was reviewed on October 14, 2026. All quantities and prices in the worked example are illustrative; no merchant shipment was purchased or tested for this article.
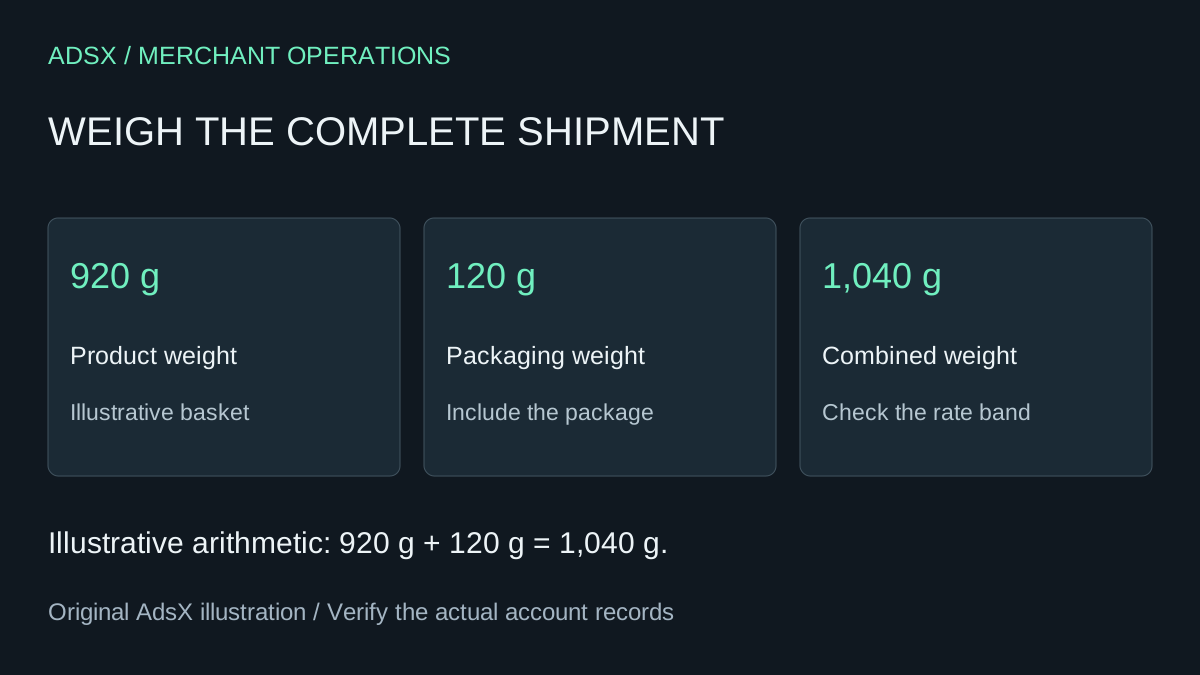
Original AdsX shipment-weight illustration.
Keep three measurements separate
Start with a representative order on the packing bench. Record the products, packaging, and finished parcel instead of copying a supplier's approximate weight into every field.
| Measurement | What to record | Common mistake |
|---|---|---|
| Product weight | The relevant product or variant's weight | Treating a supplier estimate as a measured value |
| Package weight | The packaging used in the shipment | Omitting it or counting it twice |
| Outside dimensions | Length, width, and height of the parcel | Using an advertised inside measurement |
Shopify's package setup guide explains the store default package and product-level assignments. The default applies when there is no assigned package; for weight-based rates its weight is added to the products. The same guide documents a single-item limitation for a variant's assigned package, so do not assume a single-product check covers a mixed basket.
Keep a note of the actual packaging used in the check. If an employee switches from a mailer to a heavier protective box, the old measurement is no longer the evidence for that shipment.
Work through a rate boundary
Suppose a small store defines the following hypothetical weight bands for one shipping zone:
| Shipment weight | Customer shipping charge |
|---|---|
| Up to 1,000 g | $6 |
| 1,001–2,000 g | $9 |
A basket contains 920 g of products and uses 120 g of packaging. The combined weight is 1,040 g, placing it in the second band. Charging $9 in this example is consistent with the stated bands; the product-only weight of 920 g would have pointed to the wrong expectation.
Now consider a second basket containing 850 g of products with the same package. Its combined weight is 970 g, within the first band. The difference between these baskets is only 70 g of product, yet it crosses the merchant's chosen boundary.
These numbers are arithmetic examples, not recommended rates. The business still needs real carrier quotes, destination coverage, packaging costs, and a margin decision. Use the first-store shipping budget for that broader calculation.
Diagnose an unexpected rate before changing the price
Shopify's shipping-rate troubleshooting guide identifies several sources of confusion: unit conversions, package weight, gaps between weight bands, and combined shipping profiles. It also warns that an abandoned checkout retains the rates from when it was created. Start a new checkout when checking changed settings.
Use this short investigation record:
- Write down the exact variants and quantities in the cart.
- Record the destination and fulfillment origin used for the check.
- Note the relevant shipping profile and rate names.
- Record product and package weights in one unit.
- Calculate the expected band before opening a fresh checkout.
- Compare the displayed option with that expectation and retain the difference.
Change one setting at a time. If you alter the package, weight bands, and profile membership together, a better-looking price will not tell you which assumption was wrong.
Weight is not the only input to a carrier quote
Carrier-calculated rates can also depend on parcel dimensions and destination. Shopify's packaging and weights overview explains dimensional weight and notes that carrier rules vary. A lightweight, bulky parcel can therefore behave differently from a dense parcel of the same measured weight.
The current package setup documentation also describes packed-product dimensions and fallback conditions. Review those conditions before assuming Shopify will select the box you would choose manually. A basket with missing dimensions, for example, deserves its own check.
Do not solve a confusing quote by making measurements deliberately inaccurate. First establish whether the problem is the package data, a rate rule, the destination, or the assumptions about how items ship together.
Keep a small regression basket list
You do not need hundreds of random carts. Keep the few baskets that expose meaningful differences:
- One item comfortably below a weight boundary.
- One item close to that boundary after packaging.
- Two items that might need a larger box.
- A basket drawing from different shipping profiles or locations.
- A bulky item and a destination outside the usual local area.
Record expected and observed rates with the date. Recheck these baskets after changing packaging or rate configuration. That gives the next operator a concrete starting point and prevents “shipping looks expensive” from becoming an endless guessing exercise.
For the rest of the ordering workflow, continue with the test-order checklist. A plausible shipping price is only one part of a working checkout.